Remove BuyNSave Ads extension: Ads by BuyNSave removal in Chrome, Firefox and IE
The highlights made in the present article are about the BuyNSave Ads virus, in particular its effects upon a computer and removal instructions.
The idea of browser add-ons is all about enhancing various facets of users’ Internet surfing experience, including quick and convenient access to things like search tools, social networks, work with multimedia and many more online essentials. But what if this indubitable usefulness gets abused to someone’s advantage? This is, sadly enough, a fast evolving objectionable trend that is being deployed mainly through the use of applications called ‘adware’ or ‘browser hijackers’. These apps are tailored to shift the whole point of browser extensions into a clearly malicious context, where the potentially unwanted programs act in a way that contradicts the end user’s interests. That’s exactly what the BuyNSave add-on does. It displays bothersome ads where they aren’t supposed to be; moreover this process takes place with a good extent of user stance disregard. Officially, this ‘helper’ object is intended to notify its customers about potentially attractive online deals and discounts for products. In reality, though, the way this is implemented is more of a virtual assault against one’s privacy and peace of mind.

BuyNSave distribution workflow is not upfront at all. Rather than downloading and installing it from the product’s home site, users catch this bug as a drive-by which is wrapped into other programs’ setup packages. The tendency that makes IT security experts increasingly concerned about this is that renowned app download resources such as Softonic and CNET Download.com have come to host multiple free utilities that bundle unwanted code. Some examples of tools that are known to push the BuyNSave adware this way are EZDownloader, Minecraftdl, and SWBooster. The presence of additional promotions inside the main setup is not always clearly indicated, and the user needs to look through and uncheck some boxes to secure the install. The latter is a rare case scenario, to say the least.

This adware displays in-text advertisements, banners, price comparison sections and interstitial ads inside the web pages that the user visits. You can tell these by the signature which may read “Ads by BuyNSave”, “Brought to you by BuyNSave” and the like. These graphical objects not being particularly user-friendly, they may prevent you from viewing some site content, and there will definitely be quite a bit of clicking on that X button to close them. Another collateral consequence is privacy-related: the extension studies your online history to figure out your interests and preferences. Furthermore, websites are more than likely to take more time to load.
Getting up-to-date information about discounts and deals in this fashion is not worth it, which is something that users realize very shortly after BuyNSave begins operating on their PCs. Removal in this case is not as easy as with normal browser helper objects because this one may not be on the browser add-ons list. The cleaning, therefore, requires a special procedure that an infected user should go through for complete elimination of BuyNSave Ads from web pages in Chrome, Firefox and IE. Keep reading this entry to get more insight.
BuyNSave removal with automatic cleanup tool
An optimal workflow for eliminating the BuyNSave virus is to leverage a security application which will identify all potentially malicious software on your computer and handle it the right way. This approach ensures thoroughness of the removal and system remediation, and allows avoiding unintended damage that might occur as a result of manual malware deletion.
1. Download and install BuyNSave Ads removal software. Launch it and click the Start New Scan button. Wait for the application to check your computer for threats

Download BuyNSave remover
2. When the app is done scanning your system, it will come up with an extensive list of detected objects. Click the Fix Threats option to have the utility completely remove this adware and affiliated infections found on your PC.
Uninstall troublemaking software through Control Panel
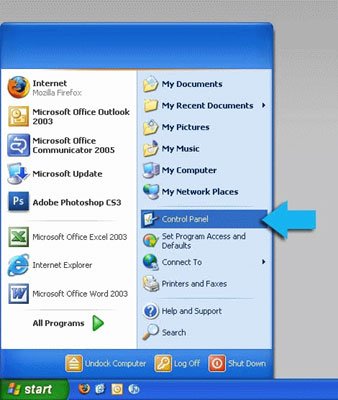
– Go to Start menu and select Control Panel on the list
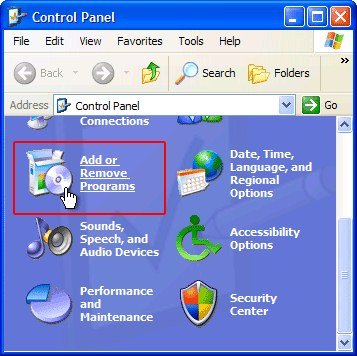
– Click on the Add or Remove Programs (Uninstall a program) button
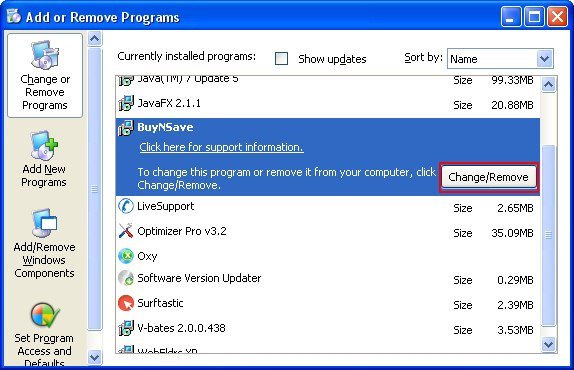
– Take a good look at the software list displayed. Search for BuyNSave on there. Additionally, examine the list for the following accompanying entries: SoftwareBooster, SoftwareEnhancer, SystemPreserver, PremiumEnforcer, BrickProvider, BrickBooster. When found, the culprits should be uninstalled
– Be advised BuyNSave should but may not necessarily be listed anywhere on Control Panel therefore it may be problematic to figure out which particular program is associated with the virus in your case. If you are unsure, stick to the automatic cleanup advice or try the browser reset option described below.
Get rid of BuyNSave Ads by resetting the affected browser
FYI: This procedure will lead to the loss of custom browser settings, including bookmarks, cookies, passwords saved, and all browsing history. Also, some components of the virus may be beyond the browsers proper. Please keep this in mind when making a decision to proceed.
Reset Internet Explorer to its defaults
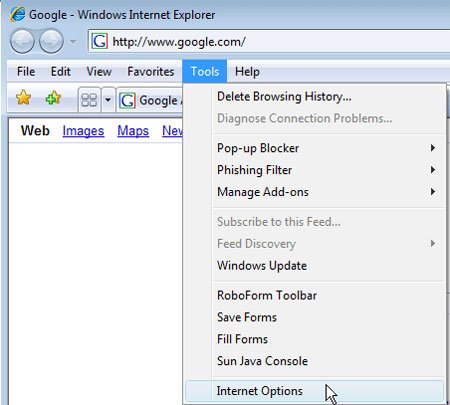
– Go to Tools –> Internet Options
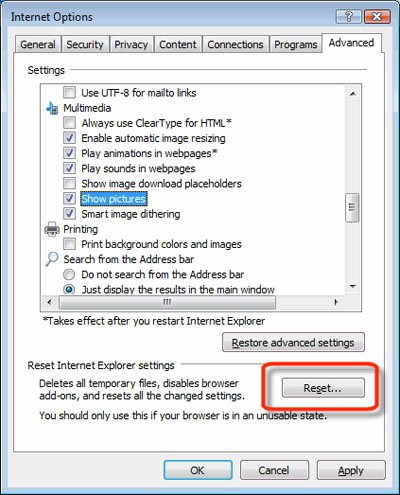
– Select the Advanced tab as shown below and click the Reset button
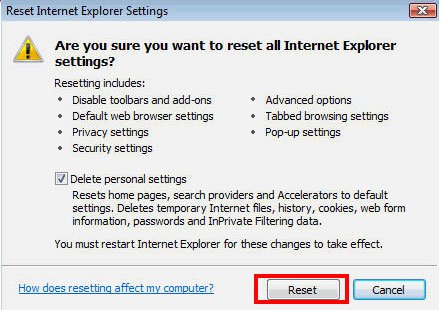
– Read the warning about the effects of resetting IE. If you are sure, proceed by checking the Delete personal settings option and clicking Reset
Reset Mozilla Firefox
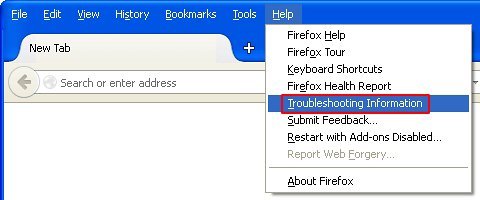
– Go to Help –> Troubleshooting Information
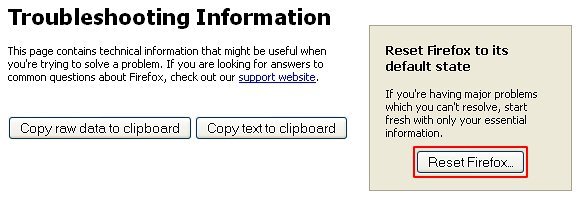
– Firefox will come up with the Troubleshooting Information screen. Click the Reset Firefox button to complete the process
Reset Google Chrome
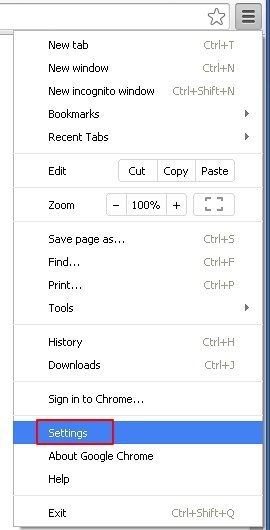
– Go to the Chrome Menu icon and pick Settings on the list
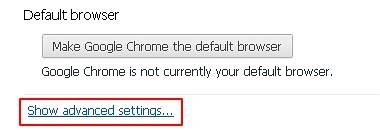
– Click on the Show advanced settings button
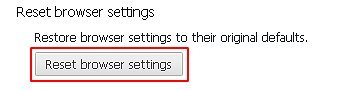
– Click on the button reading Reset browser settings
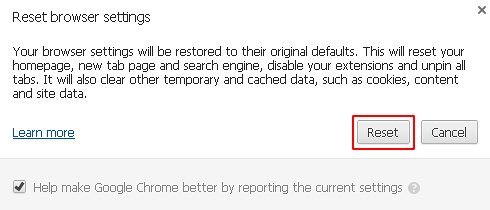
– On the notification box that pops up, review the consequences of Chrome reset and click Reset if it’s ok with you
Double-checking never hurts
To make sure the BuyNSave adware has been removed, consider running an additional security scan as a completion of the cleanup procedure.
Download and install BuyNSave Ads removal software
Leave a Reply